I personally found it intimidating and stressful to fertilize my garden. The choices of organic or non organic, synthetic or natural, cheap and expensive, were a lot for me as a beginner grower. I wish I knew that I did not need to invest in all of that stuff, I just needed to learn how soil works.
*Disclosure: This post may contain affiliate links, meaning we get a commission if you decide to make a purchase through our links, at no cost to you.
Soil Works
Healthy soil has a balance of microbes, nutrients, moisture, and other living organisms. From personal experience, you can have all the compost and fertilizer in the world but without diversity of insects, plants, and bacteria, the soil will be unbalanced and the plants will not thrive.
Fertilizer Effects
Most, but not all, box store fertilizers are made to force plants to grow fast and produce more. Using strong and synthetic fertilizers can actually damage the soil and the function of the plant itself. When you give too much they can become dependent on the resources given rather than what is available, creating an addiction or spoiling of the plant, just like we can sometimes see in people.
Let’s look at a plants natural environment, in the wild plants are not overly fertilized or chemically stimulated, they are given what they need in small palatable increments which lets the plant grow strong in a healthy way and this in return gives us a more nutrient rich food.
Natural Fertilization
I do have to say, truly healthy soil takes time to build but it’s pretty easy to start. Here are some natural fertilization methods that I have used.
Bokashi (method of fermentation)
| Pros | Cons |
| 1. Less decomposing time 2. Low smell 3. Great for HOA’s 4.Can compost cooked foods, meat and bones 5. Liquid feed 6. When fermentation is done you just bury it | 1. You have to repurchase the ferment starter 2. You will have to cover your garden bed, trench, pot, or compost pile to deter animals from digging 3. Decomposing wait period before planting |
Notes:
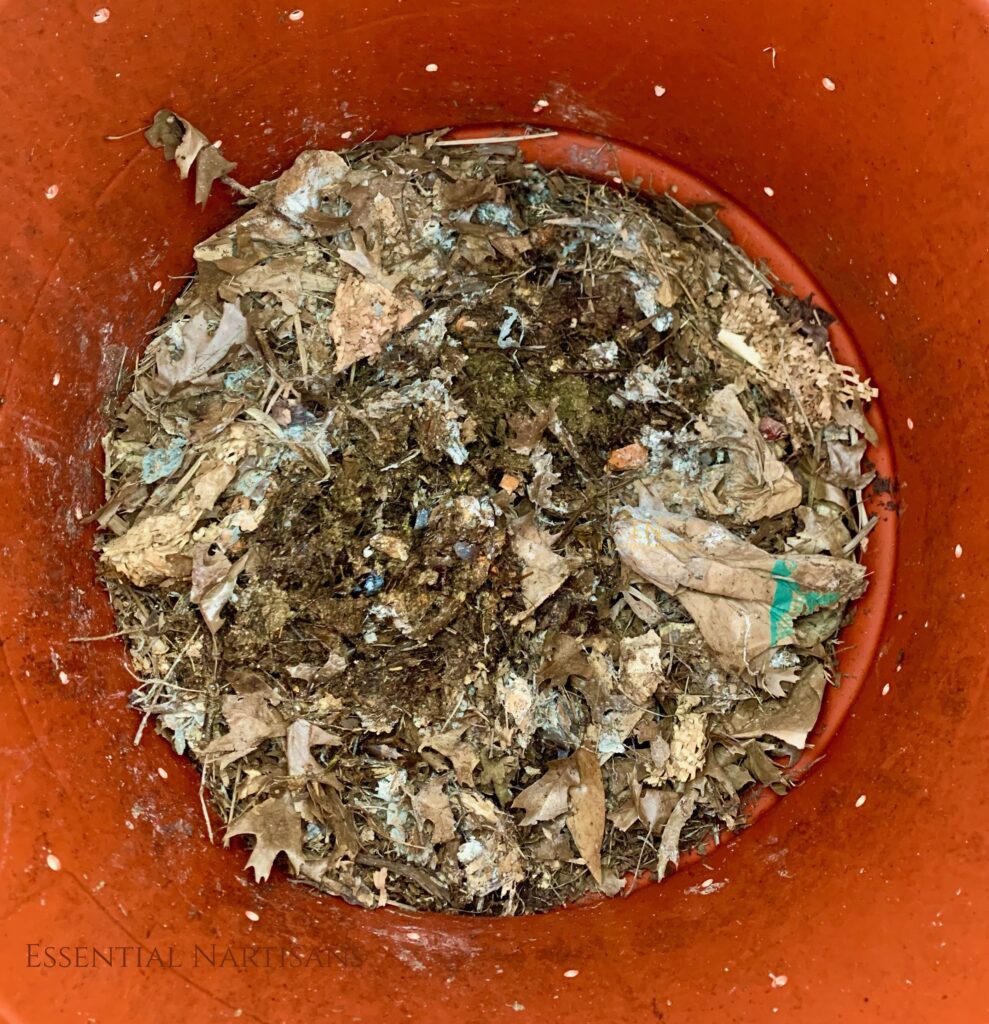
I use my Bokashi bins all year round and I dump it in my compost barrel with dirt, leaves, and paper. I get finished compost after about a month in warm weather.
I stopped burying it in my beds because you need to wait to plant anything in the bed for four weeks so the fermented scraps can break down, and for me there was a thick layer of mold and air pockets when I dug to the portion where it was buried. Some plants’ growth were affected due to the mold and some actually thrived.
This method of composting is amazing because it is simple, efficient, and it cuts compost decomposing time in half.
If you are interested in trying the Bokashi Bin here is our affiliate link to Bokashi Living: https://bokashiliving.com/?wpam_id=118
Soldier Flys
| Pros | Cons |
| 1. Quick eating 2. Eats almost everything including citrus 3. Survive extreme heat and cold 4. Amazing at multiplying 5. Gives solid and liquid fertilizer 6. Eats fermented foods and food scraps 7. Come free of charge | 1. Fast eaters in the warm months so keep a consistent flow of kitchen scraps 2. Birds and rodents will want to snack on them |
Other things to know
- They are not considered pest
- Adults don’t have mouths so they don’t bite
- Do not start seeds next to them or they will eat them
- You can collect their droppings which is a liquid or solid
- They can be fed to livestock (chickens, etc)
Notes: I prefer soldier flys over composting worms because they are not picky or finicky and they thrive in 90-100 degree summers.
Story Time
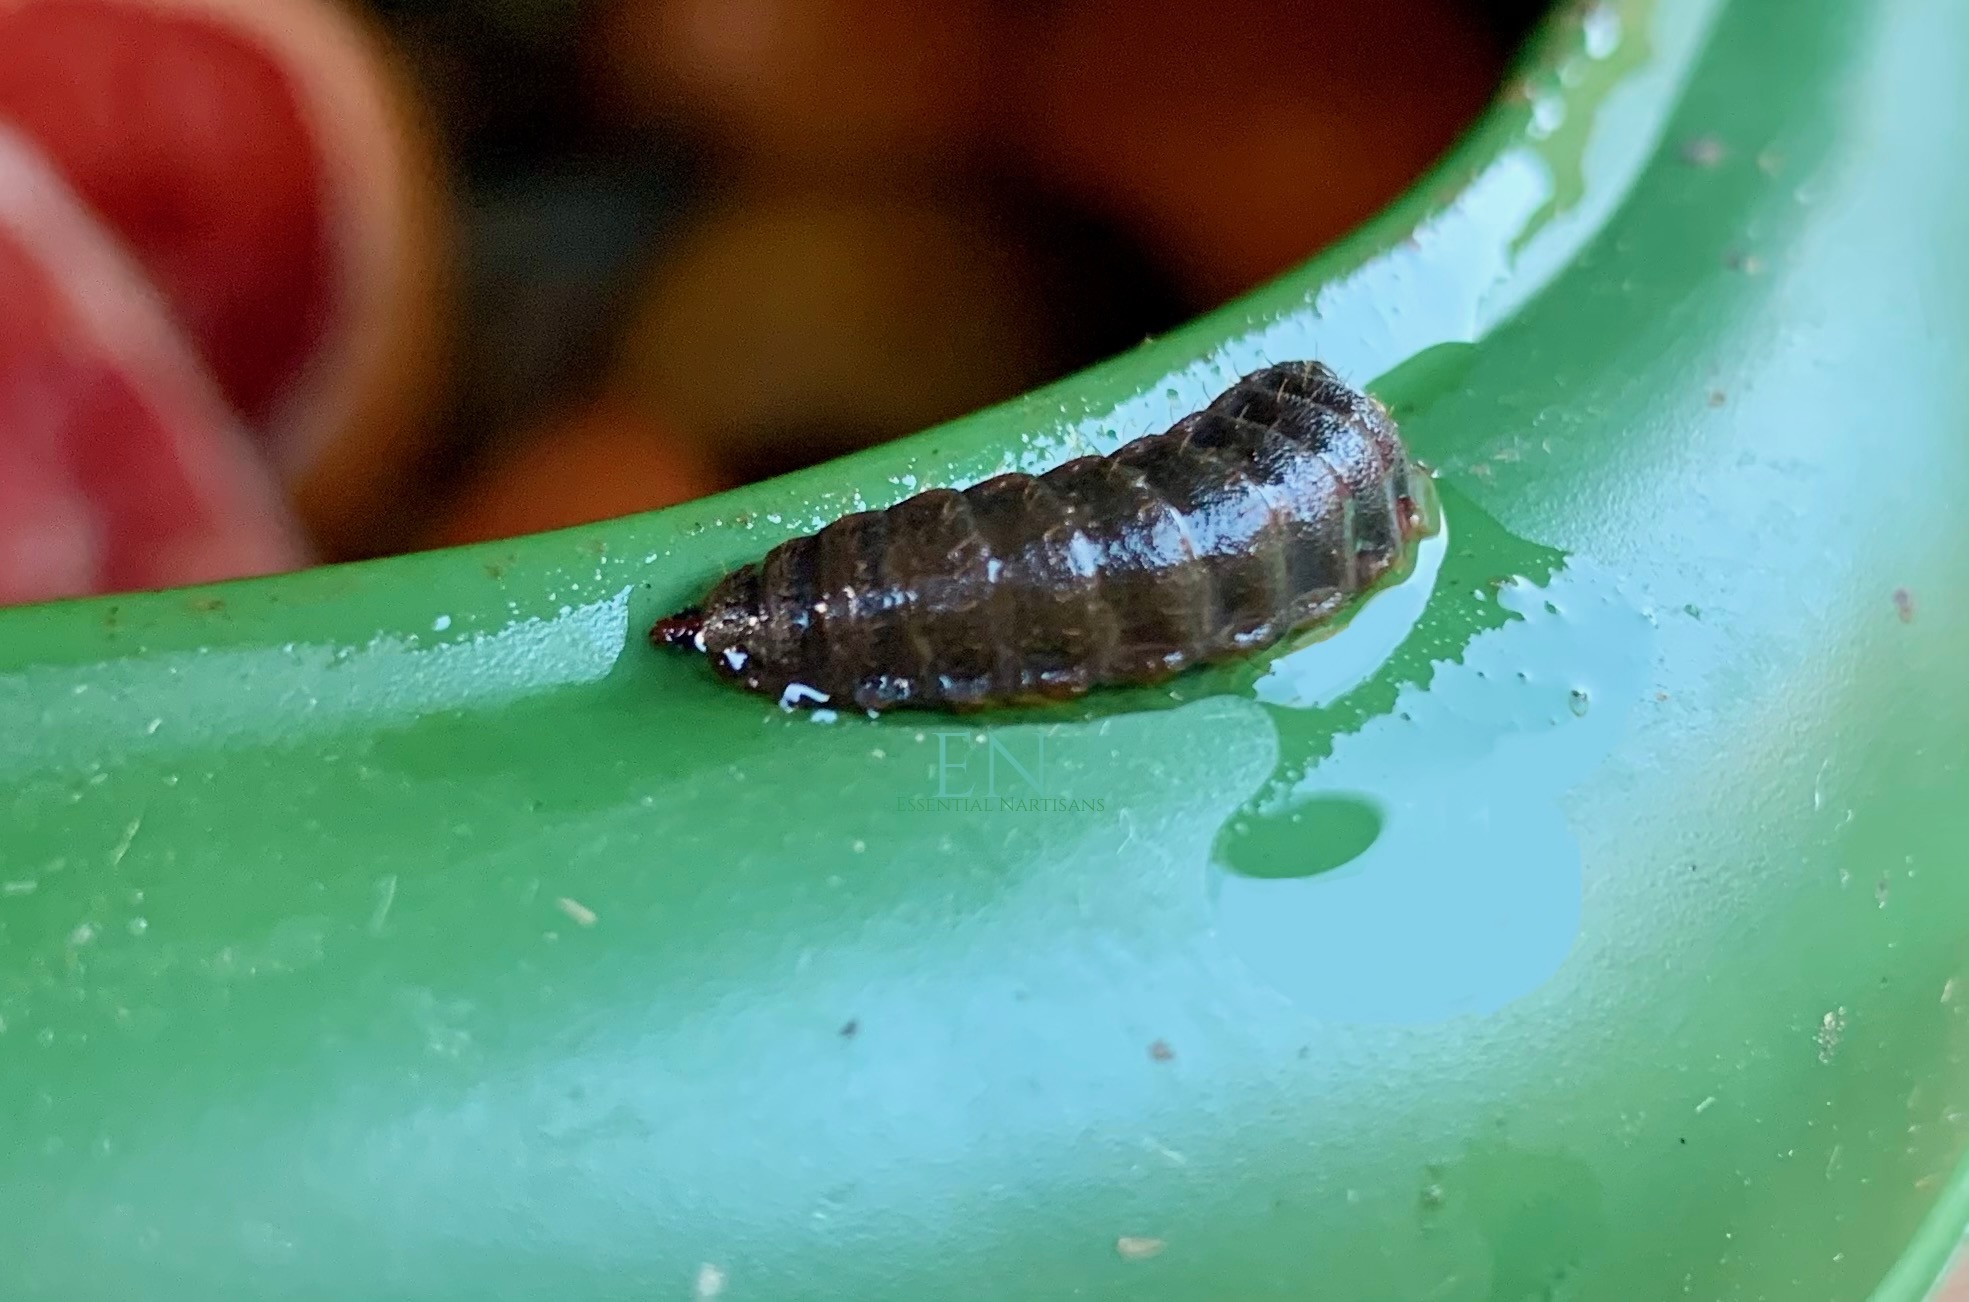
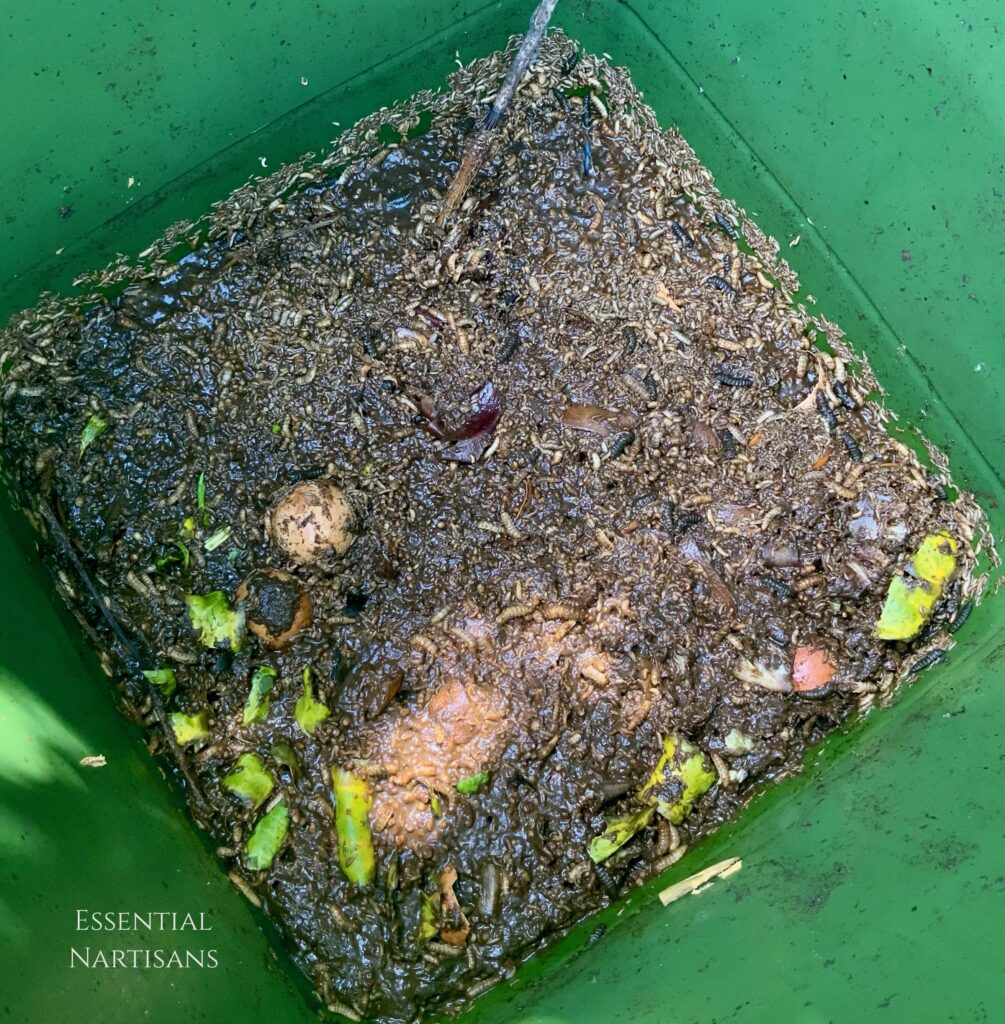
When I first started gardening in a new climate, I bought a worm bin and a bag of red wigglers in that spring and the temps were about 40- 60 degrees F. The next week in March, spring ended early and it got to be 60-80 degrees F, and as the sun changed its position it got harder to find a cool shaded spot to keep the worm bin but I kept them alive until June. Around June it got to be 70F at night and 100F during the day. Keeping them in shade and misting wasn’t working anymore so some died and others escaped. Soon after I noticed maggots, see photo below, and unique looking flys began to appear around the bin. Upon further research I discovered the soldier fly with all of its benefits and decided to use them for my composting needs.
Worms (for composting)
| Pros | Cons |
| 1. Store in your kitchen 2. Worm castings 3. Liquid fertilizer 4. Quiet 5. Self population regulation | 1. Picky 2. Temperature sensitive 3.Slower eaters 4. Moisture sensitive |
In my experience, worms work better in the raised beds and as finishing composters, they are happier that way and I’m happy too. Now I’m not saying that you shouldn’t compost with worms but composting was a lot easier and enjoyable using soldier flys rather than using worms. They just do a better job and I don’t need to keep a list on what can and cannot be composted when feeding them.
Chop and Drop
| Pros | Con |
| 1. Free mulch 2. Fertilizes over time 3. No slime 4. Easy | If there are seeds they spread |
Chop and drop is cutting plant matter down into small pieces to use as a mulch and slow release fertilizer. It feeds the worms and gives them a soft cover, this creates a nice fertilizing humus over time. The chop and drop method doesn’t produce the slime molds that come from wood mulches, which is why I preferably like this method.
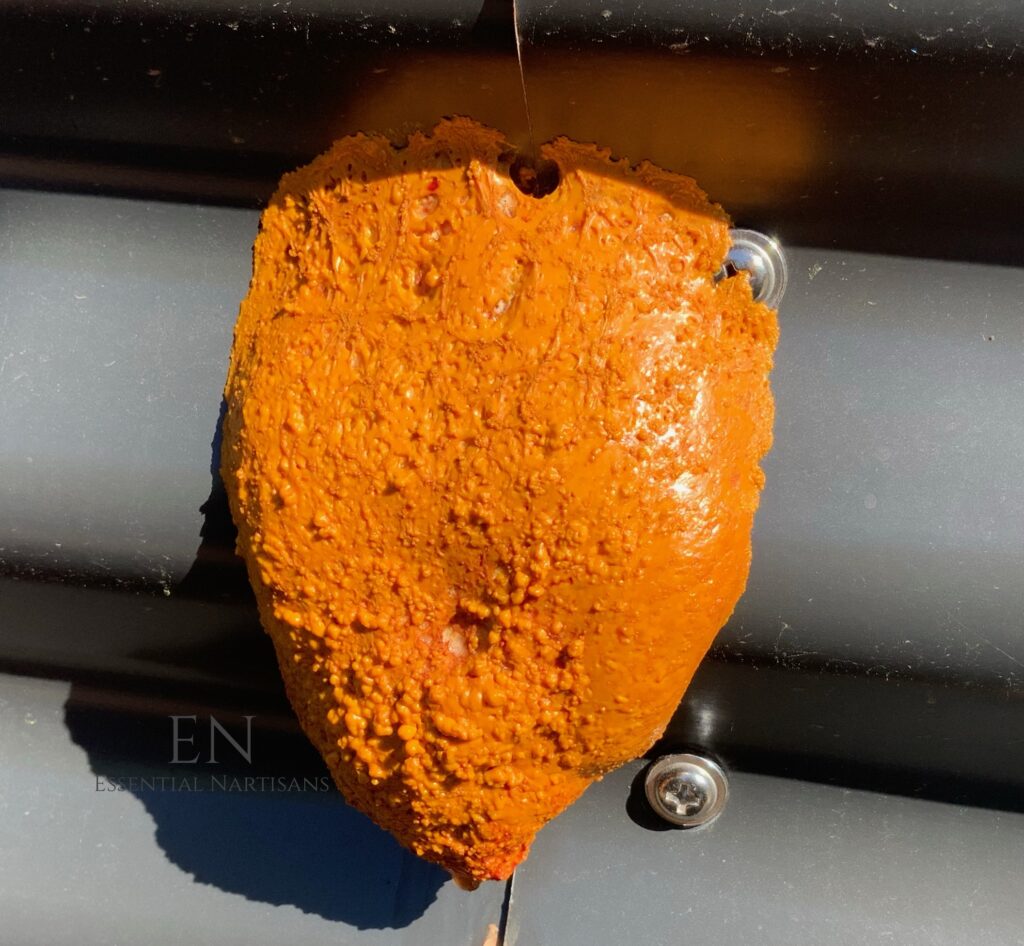
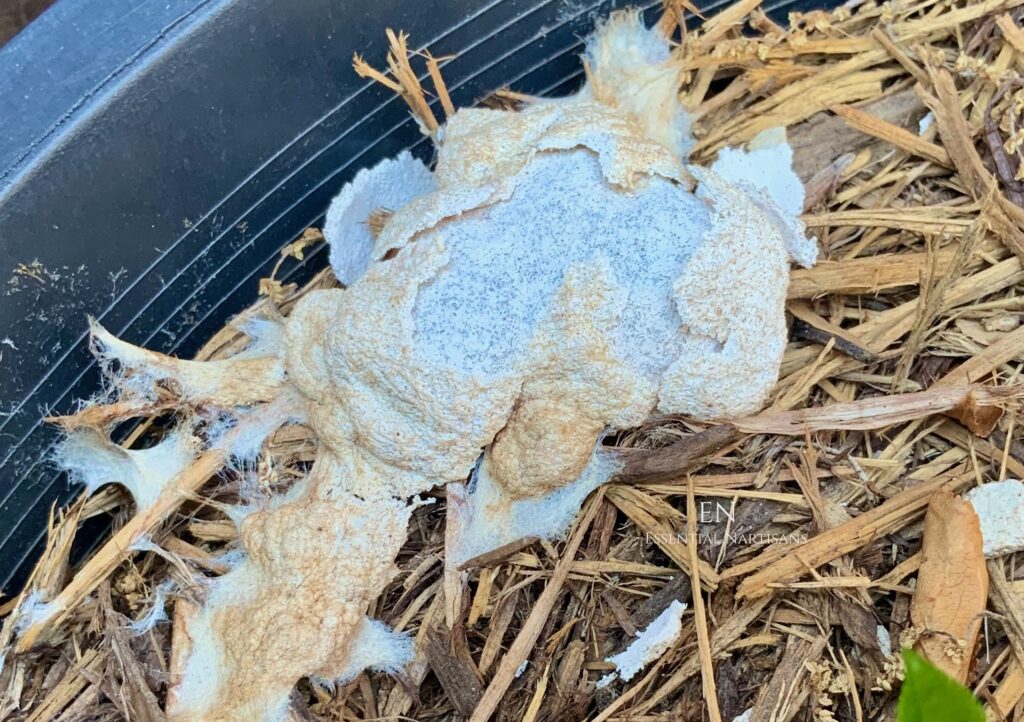
Leaf mold (different from slime mold) works the same way as chop and drop. You can either chop or crush up leaves and mulch your garden beds or place them in a pile or container, wet them, then let them rot down into a humus you can then spread as a nutrient rich mulch. This also will help to protect and grow mycelium.
Liquid Feeds
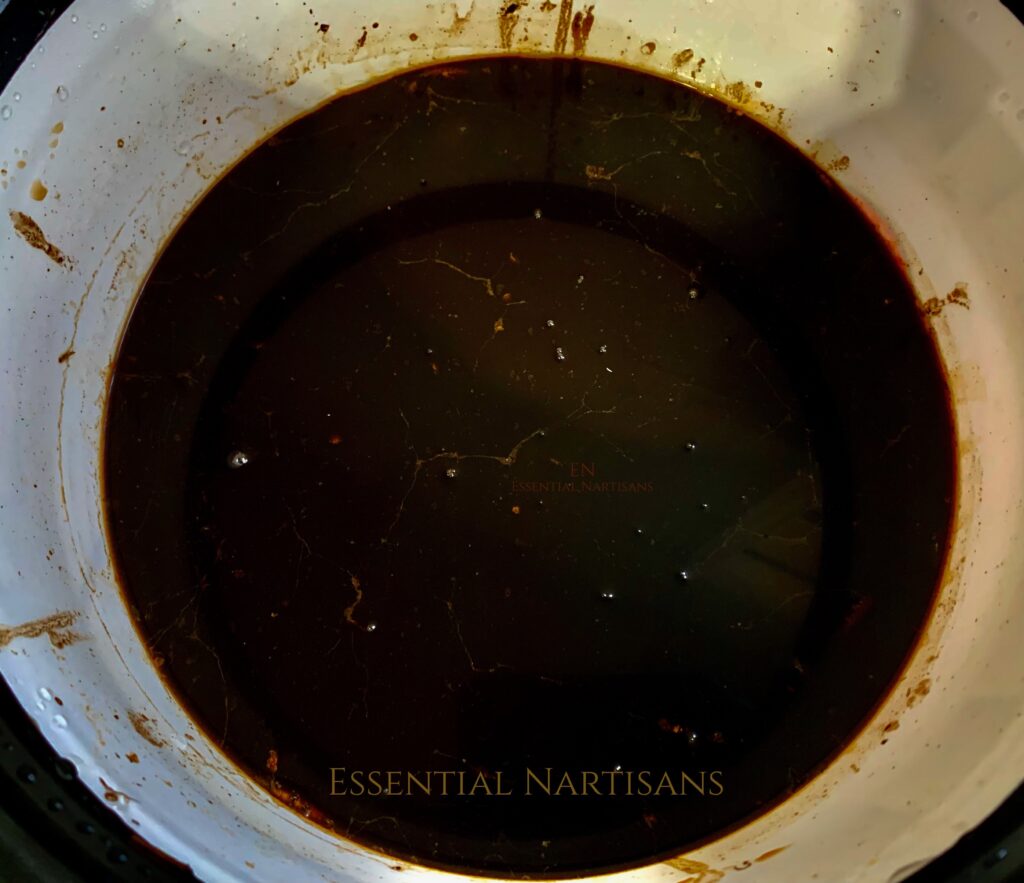
You can get liquid feeds from anything organic that decomposes.
- Soak fruit and vegetable food scraps or garden plants in water for a few days to a week in a bucket or other container. Dilute with water in small increments first until you know how it will affect your plants.
- To add beneficial organisms use the liquid from your bokashi bin. It is acidic so dilute in water.
- Make a worm or soldier fly bin where you can add a drip tray underneath and collect their liquid. It can be kept in plastic bottles or buckets. DO NOT use glass and or sealed containers, it will ferment and explode.
Liquid feed is my main source of fertilization because it is abundant and convenient.
Manure
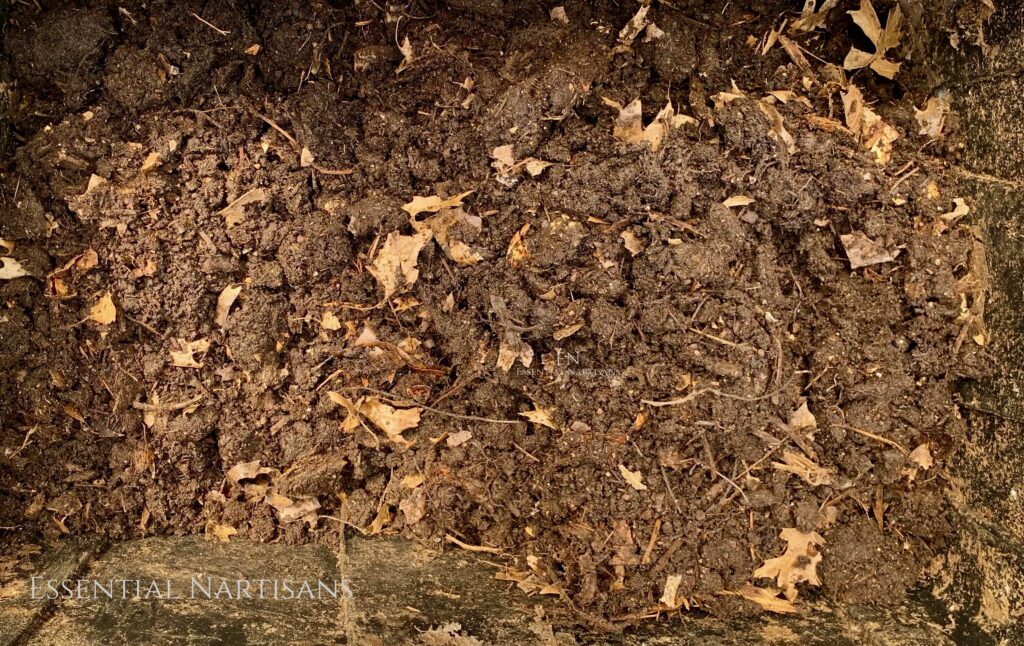
Manure is a great way to get nitrogen and phosphorus, and there are so many ways to get it.
- Livestock. This type of manure is hot and needs to decompose before you use it in your garden or it will burn your plants. This is caused by uric acid and ammonia.
- Rabbits. Their manure can be used fresh in the garden because they don’t contain as much uric acid and ammonia.
- Worms and soldier flys. I would say are the simplest and time effective creatures to get manure from but they do contain less nitrogen and phosphorus than larger animals.
Fruit Bushes and Trees (in containers)
For my garden, all of these fertilizing methods work so well that I don’t need to use store bought fertilizers at all, with the exception of bone meal, for growing vegetables in containers and raised beds. But I do need more than compost and leaf juice for my large fruiting bushes and trees in containers. Because the plants can’t seek out what they need and everything washes out when watered, they experience deficiencies quickly.
The fertilizer I like to use is Down to Earth fruit tree fertilizer, single ingredients, and minerals. They are made of ingredients that can be pronounced and can be naturally grown or harvested. Because it is natural it is still released to the plant slowly to keep them healthy and it is giving them everything they need when they are lacking.
For plants that have rooted through their pots or are planted in the ground, their deficiencies have been fixed by simply using manure, liquid feeds, and bio diversity with clover and dandelion.
Conclusion
To sum all of this up, we just need to use what is around us and there are so many useful things right outside our doors. We don’t have to use chemicals if we just learn and look at the vast options available to us.
